If you want to increase performance and longevity, upgrade your snowmobile suspension with grease fittings, also known as Zerks.
It’s a straight-forward DIY project that can be tackled on a weekend with basic tools.
Where Did My Grease Zerks Go?
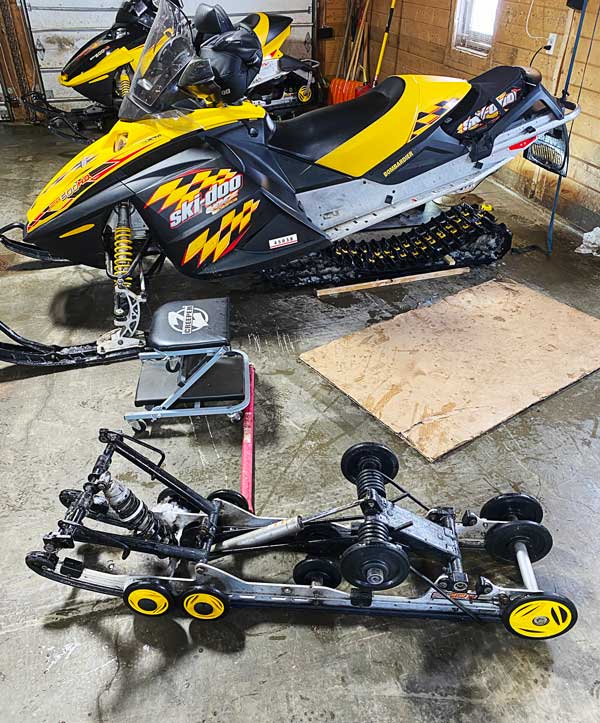
I’m not exactly sure when they disappeared, maybe 2003? All I know is that some jerk omitted the Zerks from my snowmobile.
Maybe not all of them, but my grease Zerk count plummeted from roughly a dozen to a single pair. Oscar Zerk would be outraged! Obviously, someone out there hates general maintenance.
Truth be told, a lot of people despise general maintenance, preferring clean fingernails over perfectly articulating joints.
But snowmobilers tend to tinker. We hang our grease guns in the open, for everyone to see, and rebuke those in white shirts that inquire, “What’s that disgusting thing oozing all over the wall?”
Replace Worn Snowmobile Suspension Bushings
Yes, I miss greasing the suspension of my sleds. That all changed last spring when I noted the sled’s hyfax, much like my socks, were wearing thin.
This was nothing but an invitation to extract the rear suspension, which led to further dismantling and parts strewn all over the place.
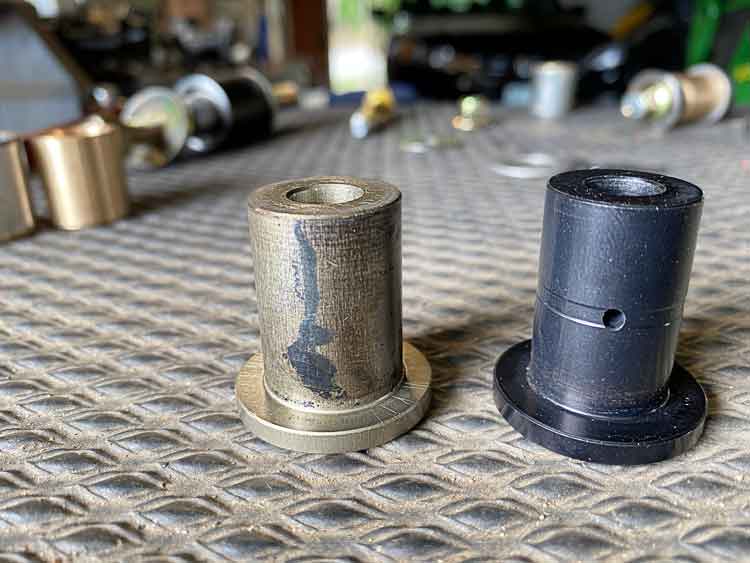
Hmm… not only were the suspension bushings showing surprising amounts of wear, but the OEM parts didn’t exactly fit as God intended.
Mainway Solutions Greaseable Snowmobile Suspension Parts
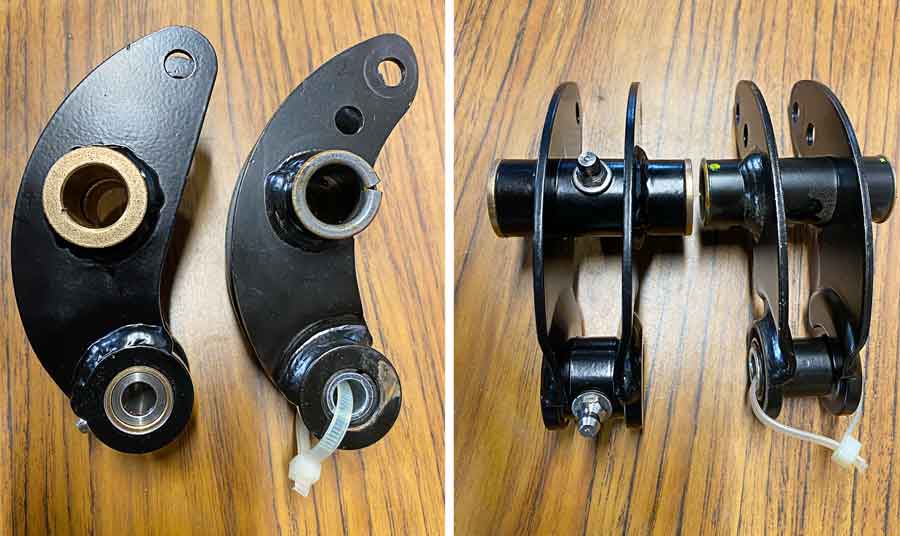
The search for suspension salvation led to Val Casciani of Mainway Solutions. Val is a true believer in greasable snowmobile suspensions and offers a slew of quality replacement parts, complete with Zerks!
Actually, these are better described as upgrades, rather than replacements, as they far exceed the original pieces by a factor of “wow.”
Val’s one of us, a purebred slednut. Except he’s got the skills to design and build solutions, instead of complaining, like me. Call Mainway’s tidy shop in Ontario and Val answers the phone. It’s that kind of place.
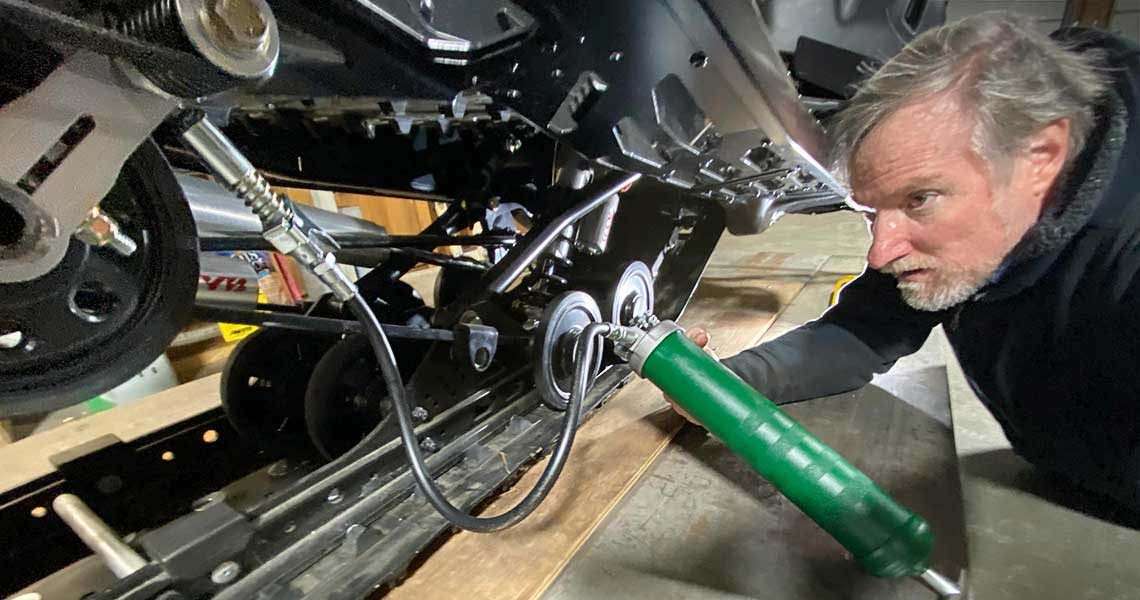
Upgrade Snowmobile Suspension With Grease Fittings
My goal was to replace the OEM bushings in the rear suspension with the good stuff: machined bronze and stainless, not compressed powdered bronze or plastic.
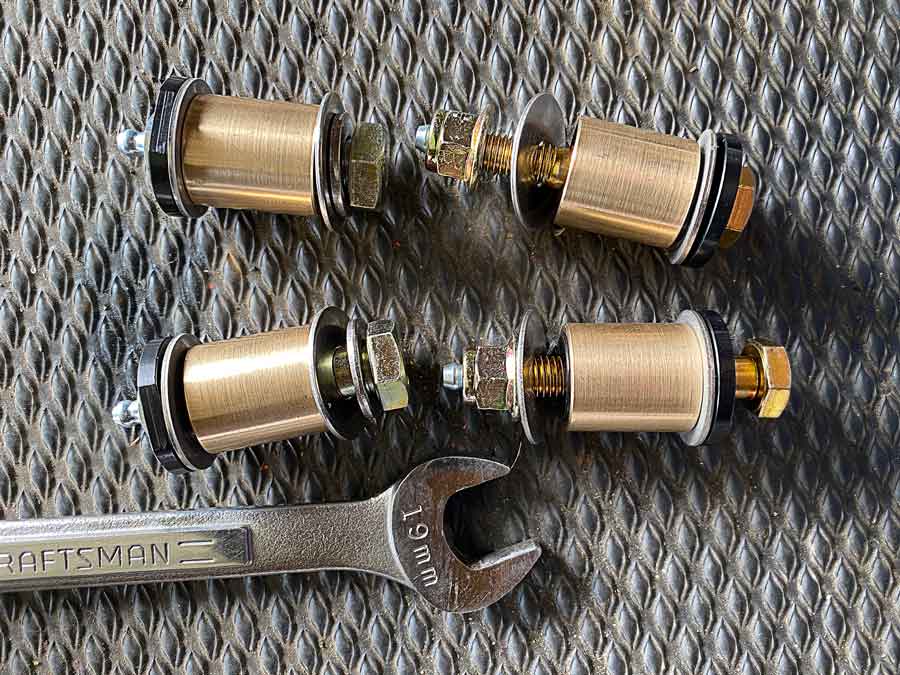
The process was fairly simple. I took my time, using Mainway Solution’s slick bushing install/removal tool (recommended) to swap out the old and press in the new. All with simple tools.
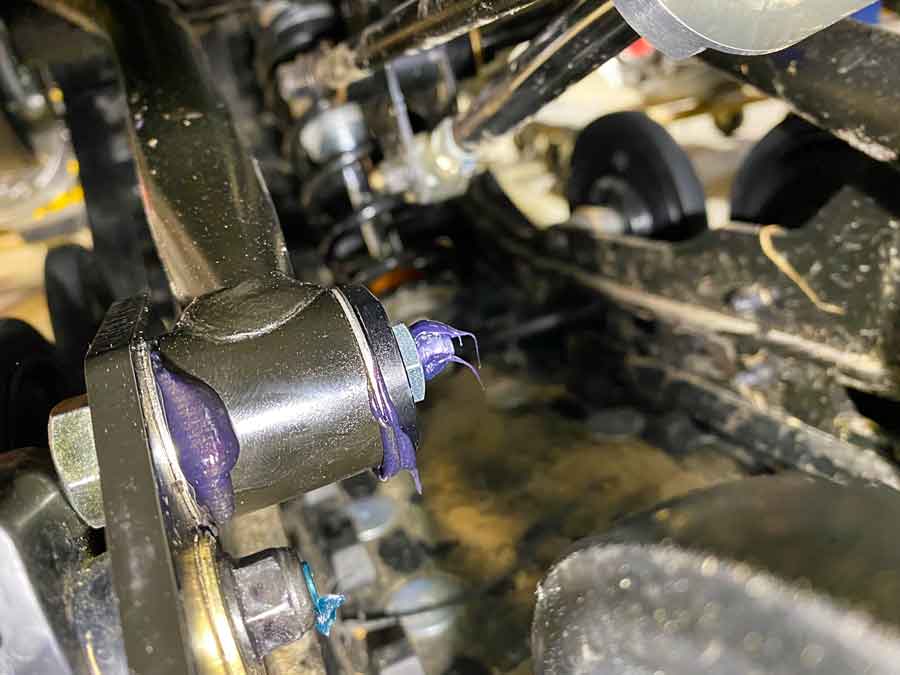
The instructions are clear, although I did watch a few of the DIY videos beforehand, in preparation.
DIY Grease Zerk Installation
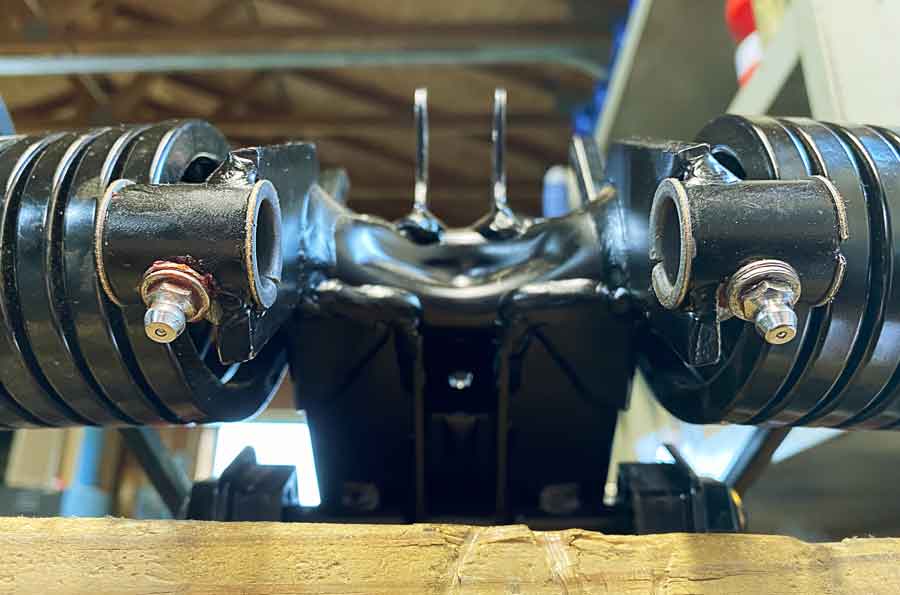
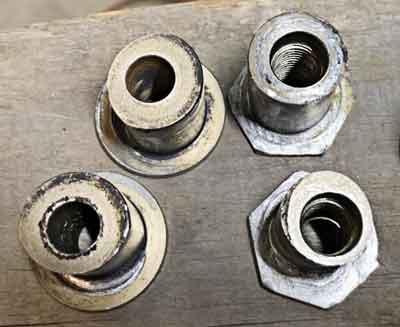
You could upgrade your snowmobile suspension with grease fittings, also known as Zerks, the old fashion way. Drill, tap and install the Zerks to the stock bushings for pennies. I’ve seen it done with great success. It’s an upgrade, so long as you have the time and skill, and feel confident with the quality and condition of the stock parts.
Cost Versus Quality
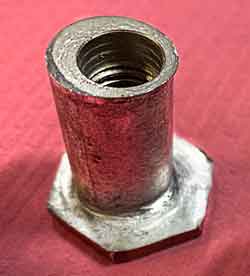
Here’s a dumb statement that needs to be stated: Quality parts cost more. That’s why the OEM’s use economical ones.
At first glance the cost of quality might seem a tad high but consider the US-Canadian exchange rate and the fact that your suspension will simply perform better by substantially reducing stiction, and all of a sudden you talked yourself into a weekend project that will extend the life expectancy of your sled.
That’s the beauty of the suspension kits by Mainway Solutions. It’ll also save you cash over a few short years. And lastly, your zerk count will increase to acceptable levels.
You must be logged in to post a comment.