Like a kid on Christmas Day, I was excited when the box was delivered from Qualipieces. For those of you who don’t know Qualipieces, they are a manufacture of high-quality snowmobile products located in Drummondville Quebec, of particular interest are the Qualipieces Rollerski snowmobile wheels.
I’ve been using their specialty carbide runners for years and found them to be of top-notch construction and effectiveness, so it was a natural for me to try some of their other quality products. What the heck it’s only money, right? More on this later…
Snowmobile Wheel Kit
I’ve had a set of dropdown ski-mounted wheels on my Cat for about six seasons now, which are now fairly worn after plenty of use. The company that made them has since gone out of business, so a search was started for an upgraded wheel kit to bring the Turbo Kitty up to current specs.
Enter Qualipieces. After placing a call to the headquarters and speaking with Philip, the customer service manager, we were in mutual agreement that a set of their Rollerski self-retracting wheels was the way to go.
My riding partner and I have run ski wheels for years, albeit a different brand, and have since converted additional riders in our group to Rollerskis as well.
Okay, hold the phone here. You might be asking, “why do I need to spend any money at all on ski mounted wheels? My skis go quite fine thank you, I’ll spend my hard-earned money elsewhere.” Well not so fast. How about an easy way to maneuver your snowmobile on dirt, tar and concrete?
“Hey Buster, it’s a snowmobile not an ATV” so you say. “Snowmobiles are made to ride on snow not on those types of surfaces, you dunce.” If I may, let me prove my case…
Roll and Control at the Gas Station
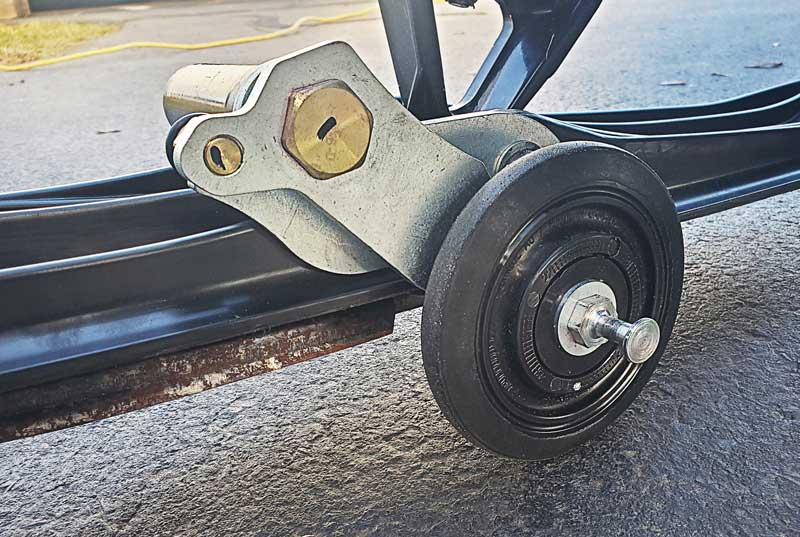
Riding in northern New Hampshire, New Brunswick, and Canada, you will find that gas stops, parking lots and trails that travel over automotive bridges pose some interesting scenarios. The first would be gas stops. When we pull off the trail onto pavement and head to the gas pumps we are faced with a dilemma. Such as, how to maneuver the sled without any weird gymnastics and get up to the gas pump for a quick fill?
For the sake of argument let’s say you need to turn right to get to the gas pump, steering the sled in that direction. As soon you hit pavement it immediately goes straight ahead. Not good.
To correct this, you must get off the machine. Oh wait, you just yanked the heated shield cord right off the helmet! Now pick up the rear of the sled, which somehow gets heavier every year, and drag it in the general direction you want to go. After several attempts your shield is fogged from huffing and puffing as you finally get to the gas pump.
Pound the Pavement with Qualipieces Rollerski Snowmobile Wheels
A few more gas stops during the day adds up to lot of expended energy for no good reason. How about this instead? Deploy the ski wheels and actually go where you point the handlebars? What a novel idea!
A few years back a friend and I completed the Northern and Eastern most groomed trail in Canada. We traveled on the ferry boat which crossed the St. Lawrence River to a town called Sept-Isles and rode to Baie-Comeau. We must have crossed at least a dozen road bridges including some that were quite long, up to an 1/8 mile – no joke! It was bumpy and dirty, with monster-sized double log trucks flying by. Not for the faint of heart.
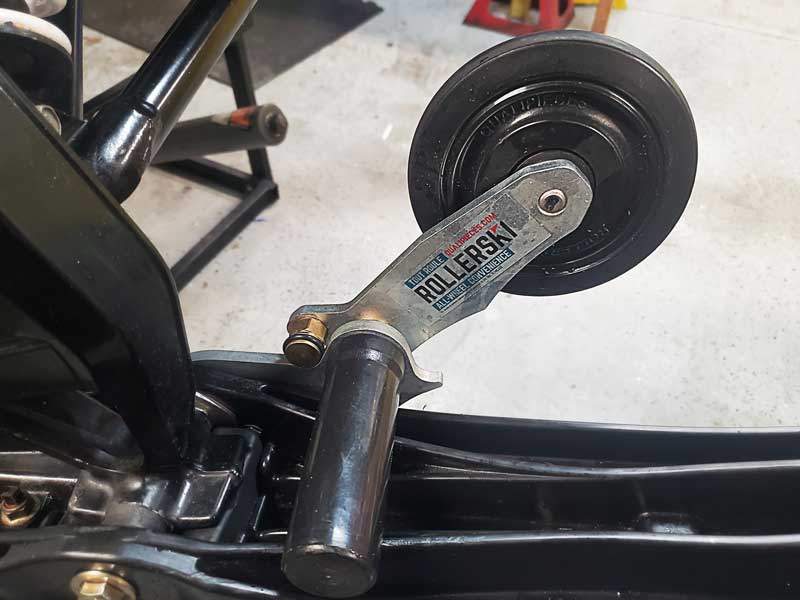
Fortunately, we had drop down ski wheels, so other than the looming log trucks, it was no problem at all. We went slow and stayed as far right against the guardrail as possible. Keep in mind we had to double back all those bridge crossings while returning later that week. On that one trip we saved about 200 bucks in worn out carbides. Bonus!
Unloading at parking lots and gaining access to the trailhead would be another case for wheels. Picture this: Sometimes there is quite a length of road to ride before picking up the trail, especially when parking lots are full. Once on the trail, you realize you forgot something and have to make that painful ride back to the truck, as your carbides are further ground to nubs by the pavement.
Caveman Discovers the Wheel
In the latest installment of the caveman discovering the wheel – when riders spot us navigating pavement with ease, they immediately congregate, wanting to know all about the ski wheels and where to get them.
Oh, and if that weren’t enough reason to part with your cash, then how about moving sleds in and out of the garage and over your nicely tarred and sealed driveway? No gouges in the driveway or barked up garage floor, not to mention my back staying in one piece, thank you very much. Loading in the trailer is a snap.
Now let’s take a shallow dive into the installation. When I opened the box there was one bracket and attached wheel for each ski, for a total of two items. Scanning the QR code with my phone brought up the component list and instructions. Like most instructions nowadays they were just okay.
A YouTube video would have been most helpful. In todays’ world you need both written and a short video specific to your platform (See below).
Whether you like it or not, QR codes and online instructions are the way the society rolls now, so get used to it. Gone are the days of written instructions included in the box. which is just another thing to throw in the trash. Instructions for the four manufactures are included but they do not cover aftermarket skis.
Installing Qualipieces Rollerski Retractable Wheel System
Rather than repeat the details, I’ll just briefly explain the areas I found trouble with and share some tips for an easier installation experience. I’ll rate them in order, so here goes…
- A sled lift is helpful but not required. Do your back and knees a favor and get one. Yikes – more money to spend but why bend over if you don’t have to?
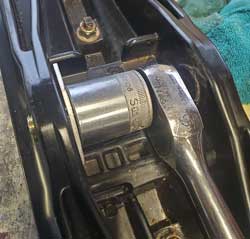
- Lining up the large plated shoulder nut (1-1/8 inch) to screw into the wheel bracket can be tricky. Patience is key here. I wasn’t patient so it started to cross thread. Pro tip: a little grease on the threads goes a long way.
- Do not tighten the large nut until you have drilled the hole for the through-bolt and mocked up that part of the process. Make sure all parts play nicely together. I had to grind off some material on the aluminum backer plate inside the ski bracket so the nut for the through-bolt would seat properly. Use Loctite on the saddle through-bolt.
- Make sure both wheel brackets are level with the ski bottom.
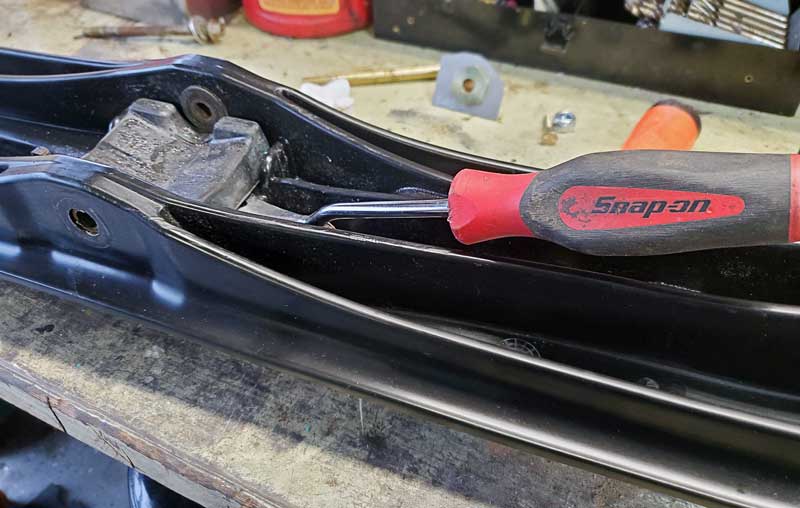
- Make sure the ski rubber is all the way in its slots and underneath both ski spacers. See picture. On the Cat there are dimpled holes in the ski and on the rubber bumper.
- Clean and grease the spindle spacers while the skis are off.
- Grease the shaft of the long spindle bolt and Loctite the threaded end.
- Prepare to install the ski. Slide the spindle bolt through the outside hole. Slowly drop the sled down on the ski with a block of wood under the inside edge. This will twist the ski somewhat and help get the Spindle bolt past the resistance of the rubber ski bumper.
- Torque spindle bolt nut to specifications (35 foot-pounds for my Cat). Do not overtighten!
Deploy and Retract Rollerski Sled Wheels
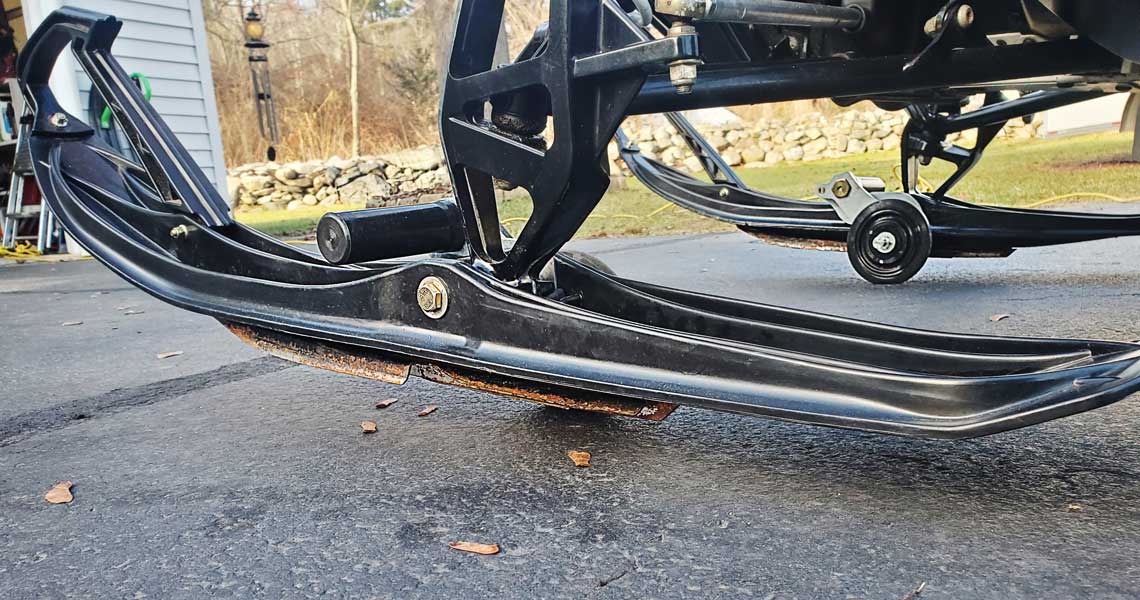
You have now bought and installed the wheels, how are they used? Simply come to a complete stop, go around the front of the machine and while lifting the ski loop press down with your foot on the stud that protrudes from the wheel. Both motions together will deploy the wheels downward into a cutout in the ski wheel bracket. You are now ready to pound the pavement with Qualipieces Rollerski snowmobile wheels.
To be clear you don’t need to be the Incredible Hulk to push down on the wheels, it’s a very smooth transition. The wheels stay deployed until they either hit the snow or you gently rock the machine side-to-side while standing. The wheels retract by spring pressure and off you go!
One word of caution here, the fastest recommended speed is 12 mph. While most folks don’t look at the speedo while riding, once accustomed to the wheels just glance down at the needle. Keep it around 10 mph, and you should be fine. I’ve hit a few potholes with the wheels and it did jolt the handlebars.
The wheel itself is fairly large compared to the old setup, allowing Rollerski to bridge holes and seams much better. The jolting is nothing and won’t throw you off the sled, just be aware of it and assume there are landmines ahead.
Are Snowmobile Ski Wheels Worth the Money?
After having the wheels, we could not imagine riding without them. They are that good. All my riding partners swear by them and wonder how they got along without. We’ve had no mechanical issues to date. No busted return springs, chunked wheels, or broken hardware. That’s quite the testimony to the durability of the product, considering the ruggedness of the terrain we often encounter.
I go back and forth with fellow sledheads all the time, saying “Hey you’ve got to go out and buy this latest whizz bang gadget – it will revolutionize your riding.” Then we dig into the cost of all these toys and say oh boy another 300 bucks to break the bank! In the end, we’ve all purchased some real nice products to enhance our riding experiences. Life is good.
For those riders out there wondering what the weight of the ski wheels are, they come in at 11 pounds per pair. Remember this is un-sprung weight so it should not affect the handling of your ride.
Admittedly these wheels aren’t cheap, but you get what you pay for. They are well engineered with beefy components and well-thought-out details. In my unofficial poll while riding in Canada, most riders that have wheels are on Rollerski. So do yourself a favor and get a set of Rollerskis! Check them out at Qualipieces.com.
You must be logged in to post a comment.